Installing The Archer C5400X
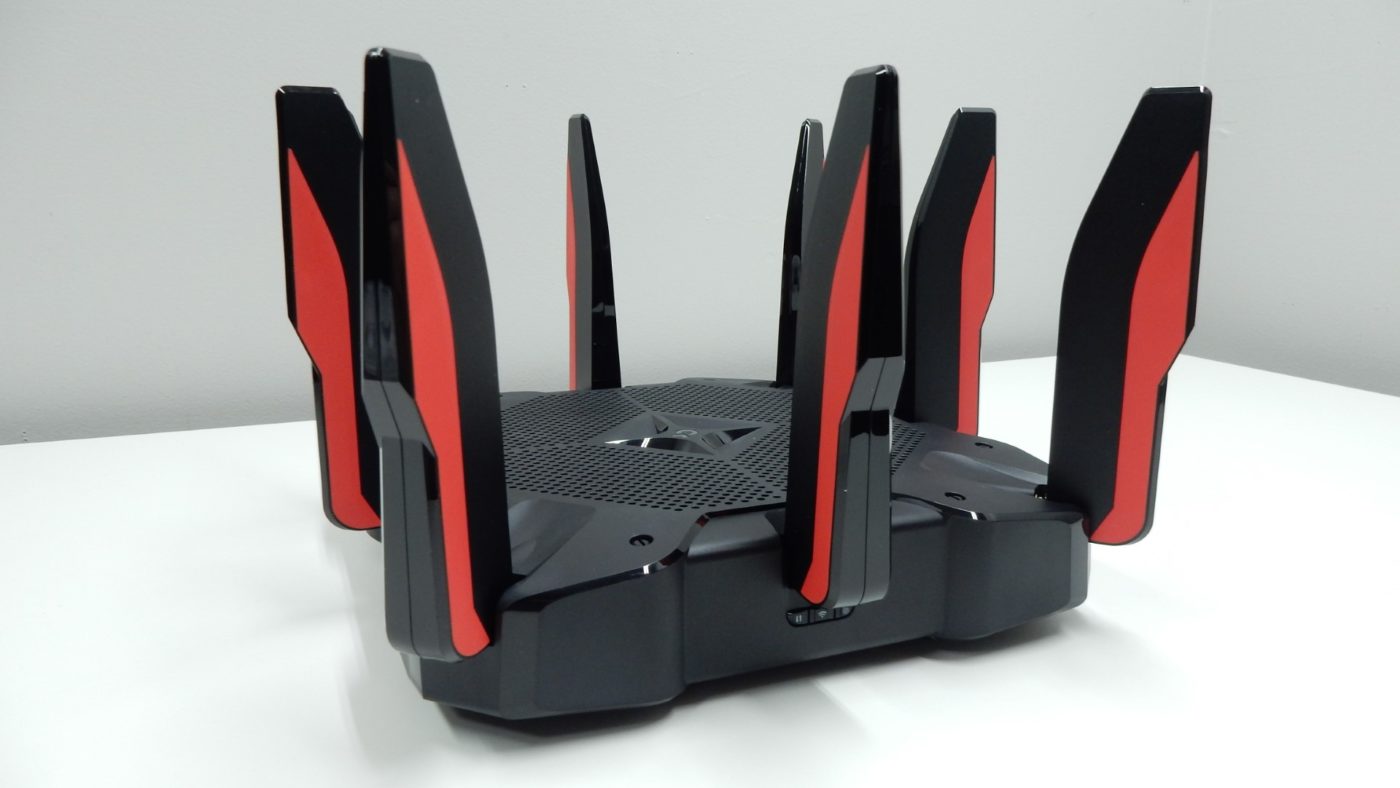
If you have ever installed a wireless router, the Archer C5400X will be a breeze, and even if this is your first time, TP-Link has made things very easy to get up and running. The physical setup is very straightforward; your modem plugs into the Internet port, and the power plugs into the power port. Depending on your setup, to get started with configuring the C5400X, you can either plug your PC or laptop into a LAN port on the back of the C5400X, or you can connect to the default wireless networks that come preconfigured on the router. Once these steps have been taken, you simply power on the router. Our method of choice for configuring new devices is to be hardwired, so with our laptop connected and the router powered on, we were ready to open a browser and navigate to the starting page. This page can be found at either tplinkwifi.net or 192.168.0.1; either one will get you where you need to go.
The first thing you are prompted to do is create an administrator password for the router. A simple “Low/Middle/High” indicator will help you determine whether or not your password meets some basic password complexity levels.

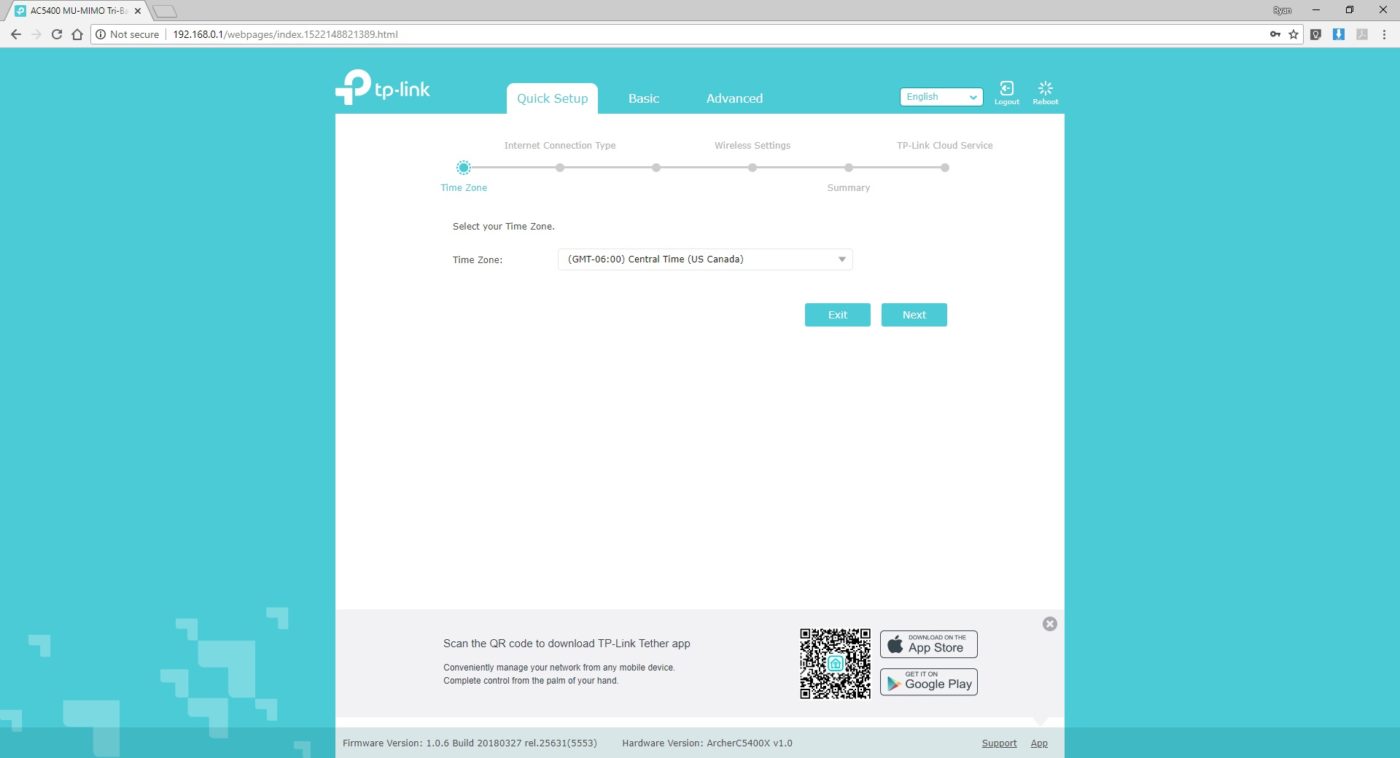
The next page starts off the Quick Setup option, though a Basic and Advanced option are available for those users that want to get right into the details from the start. Our intent was to get up and running as quickly as possible, so the Quick Setup option was our choice, and the first decision we had to make was what timezone we were in.
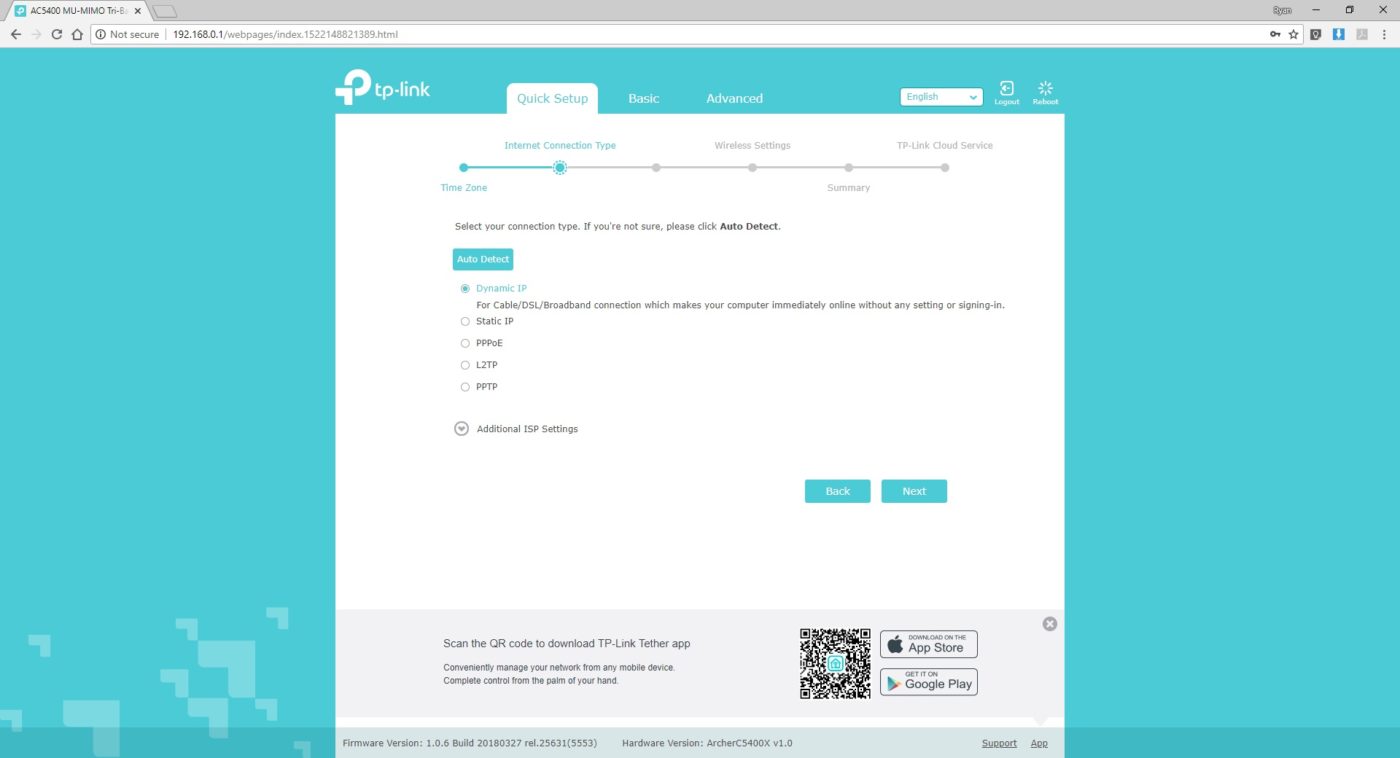
Next up was determining what type of Internet connection we had. Multiple options are available, but the most common will be the “Dynamic IP” choice, and is the applicable selection for our Internet setup.
The option to clone your current computer MAC address is next, and this option is sometimes needed for ISPs that register a certain MAC address to an account. If you are unsure or know this step is not required for your configuration, you can choose the method to NOT clone the MAC, and move on. Otherwise, you can go ahead with the MAC cloning process.

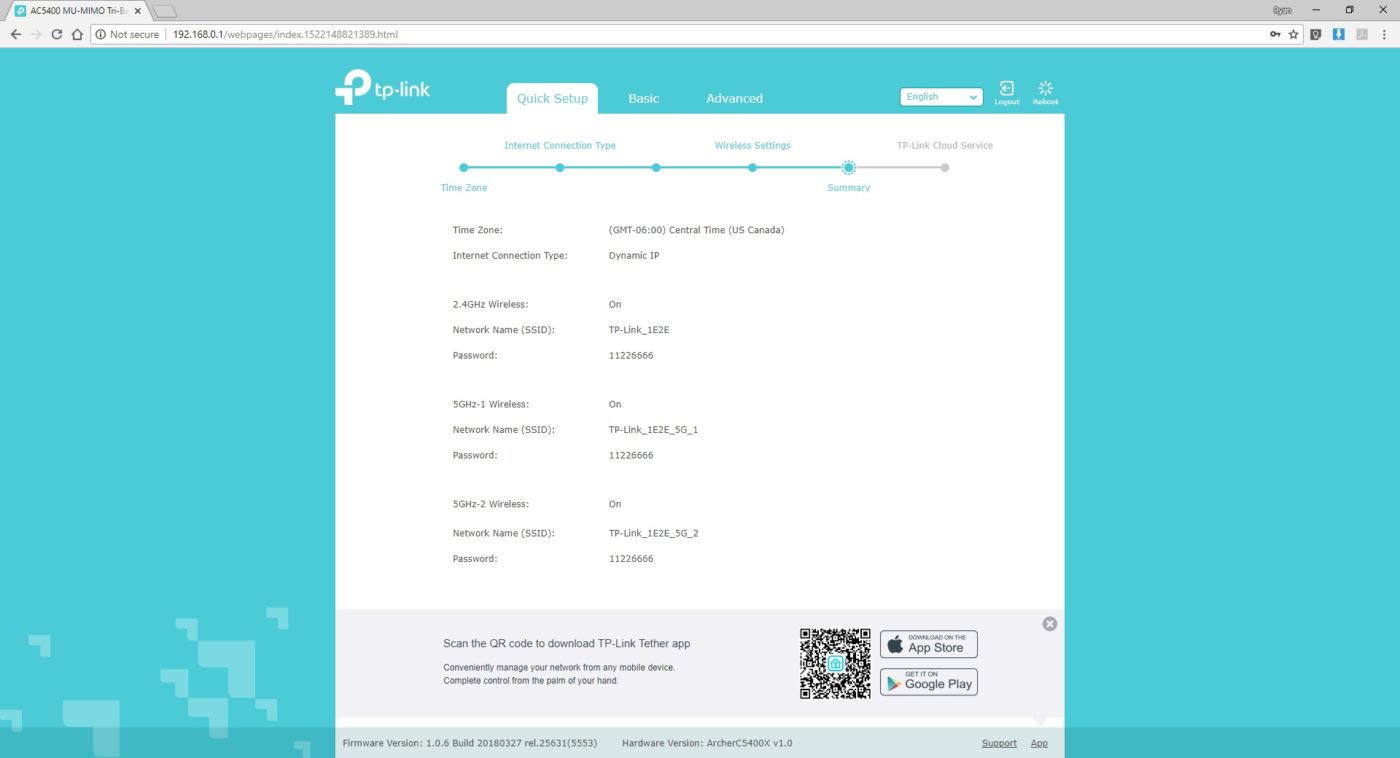
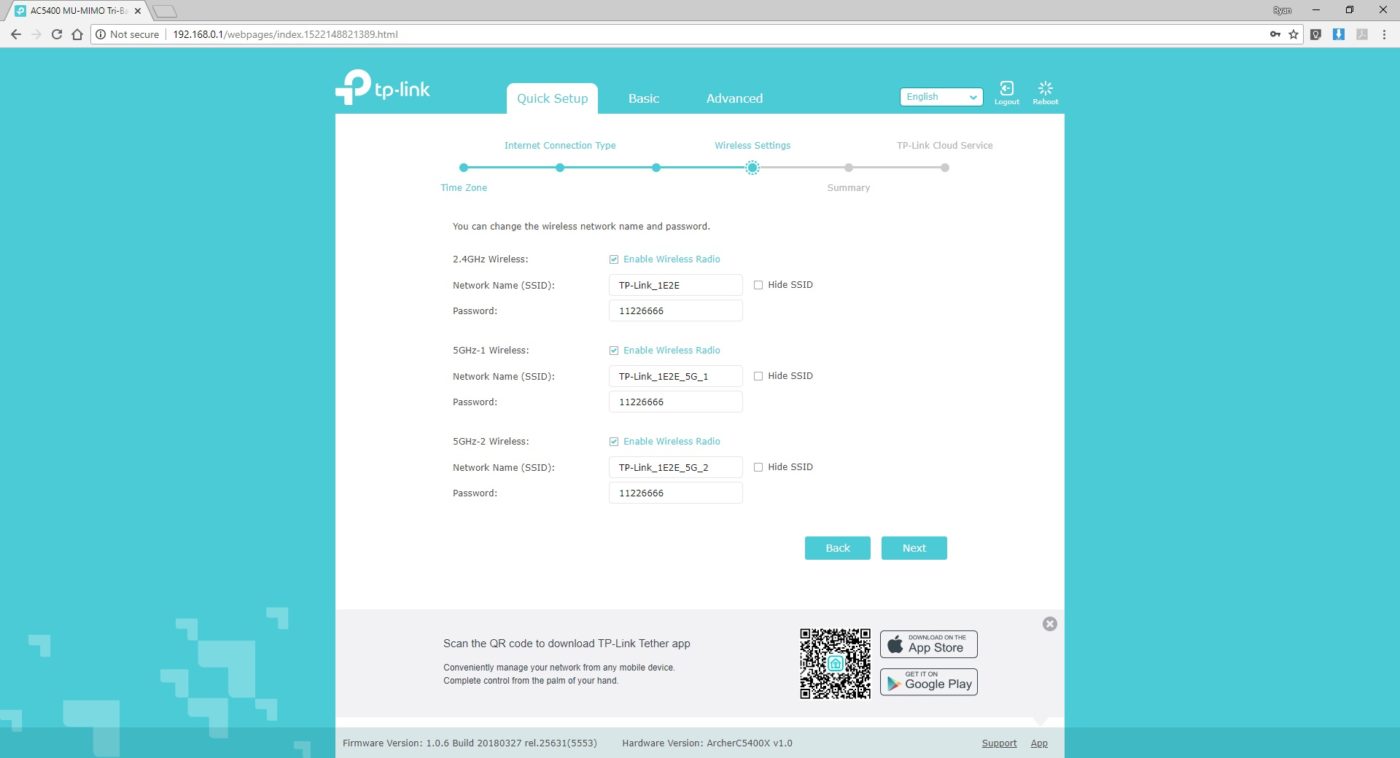
Basic wireless settings are next, and the three preconfigured wireless networks that come with the C5400X can have their most basic settings adjusted here. The single 2.5 Ghz and dual 5 Ghz networks each have a name that incorporates the router’s MAC address, as well as the frequency and network number. The default passwords can also be changed here. Additional changes such as disabling one or more of the wireless radios or hiding the SSID of a network are available on this wireless settings page.
A summary page is next, which gives an overview of the previously selected options and configuration parameters that have been set. With this configuration out of the way, more advanced settings can then be adjusted via the Basic and Advanced tabs at the top of the management page.